

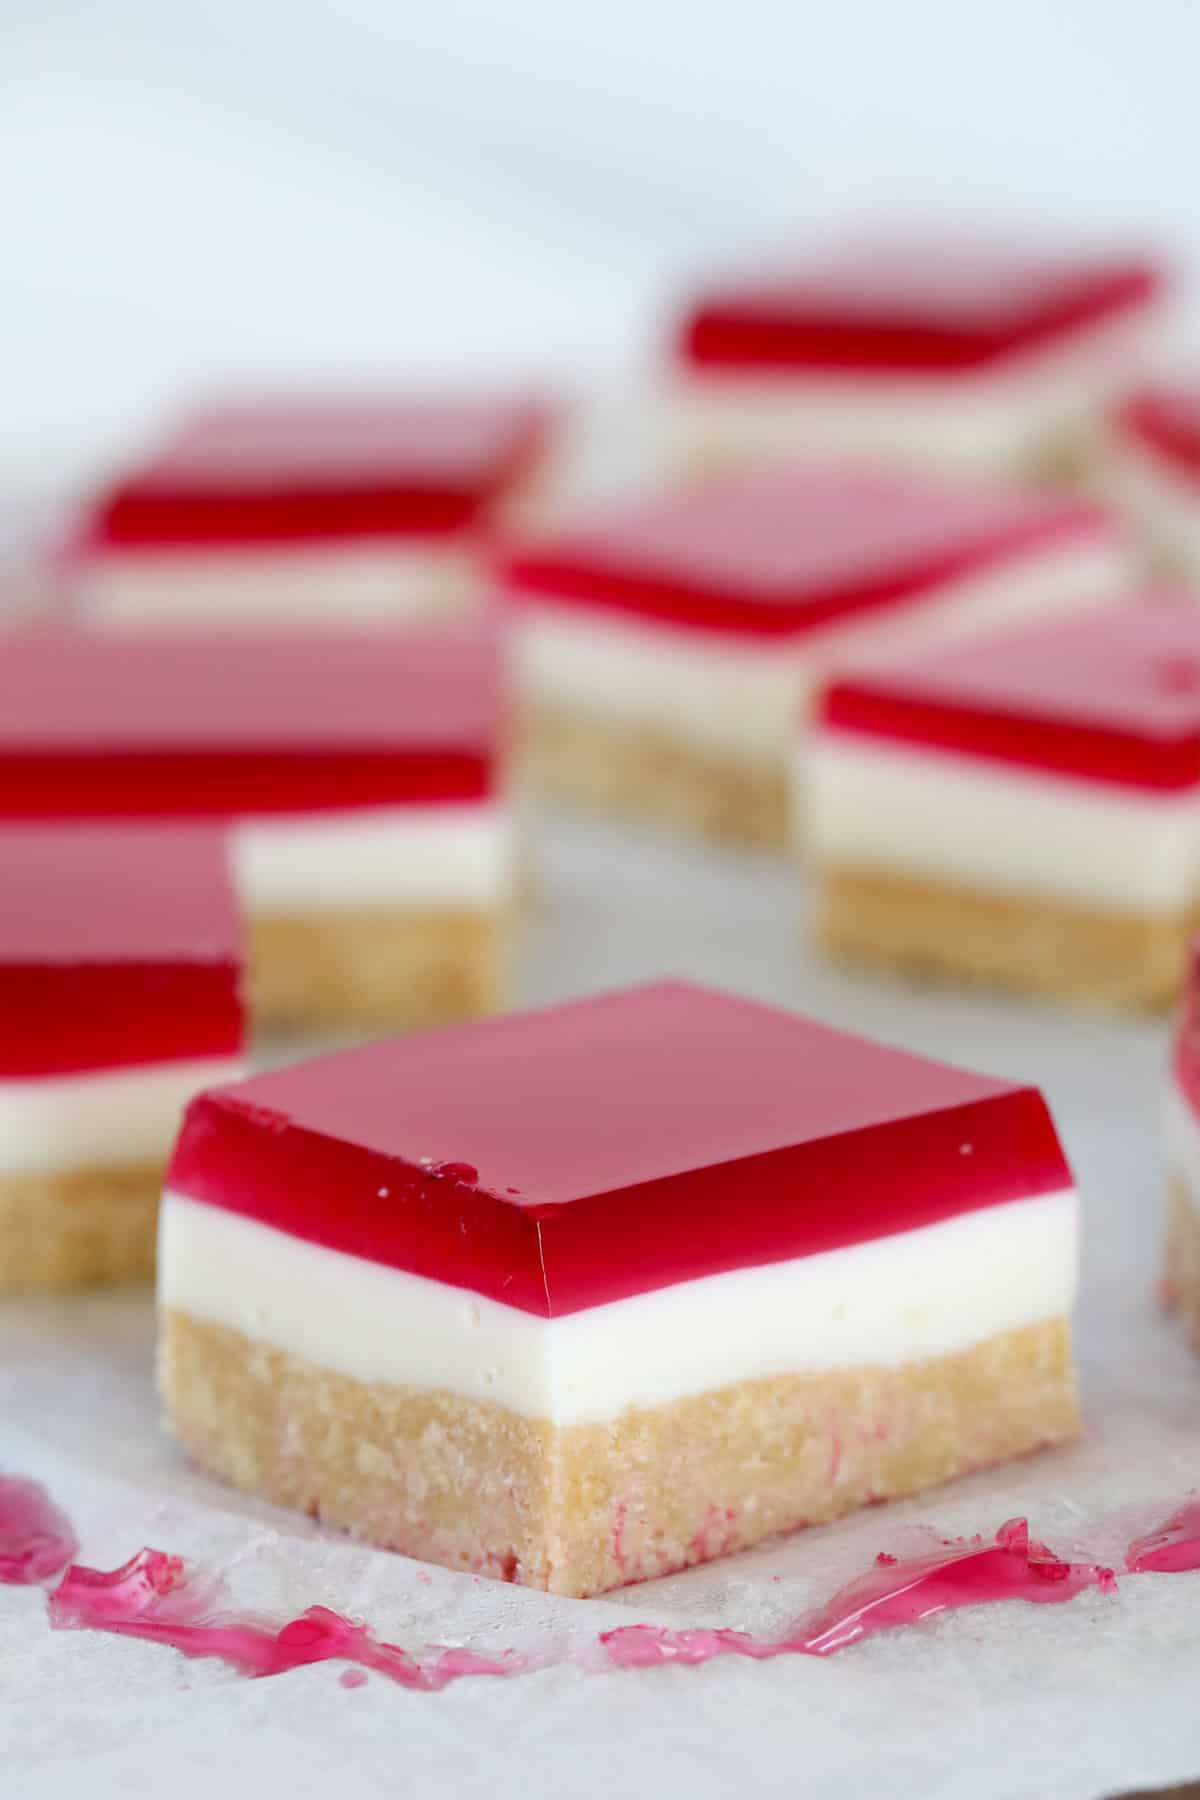
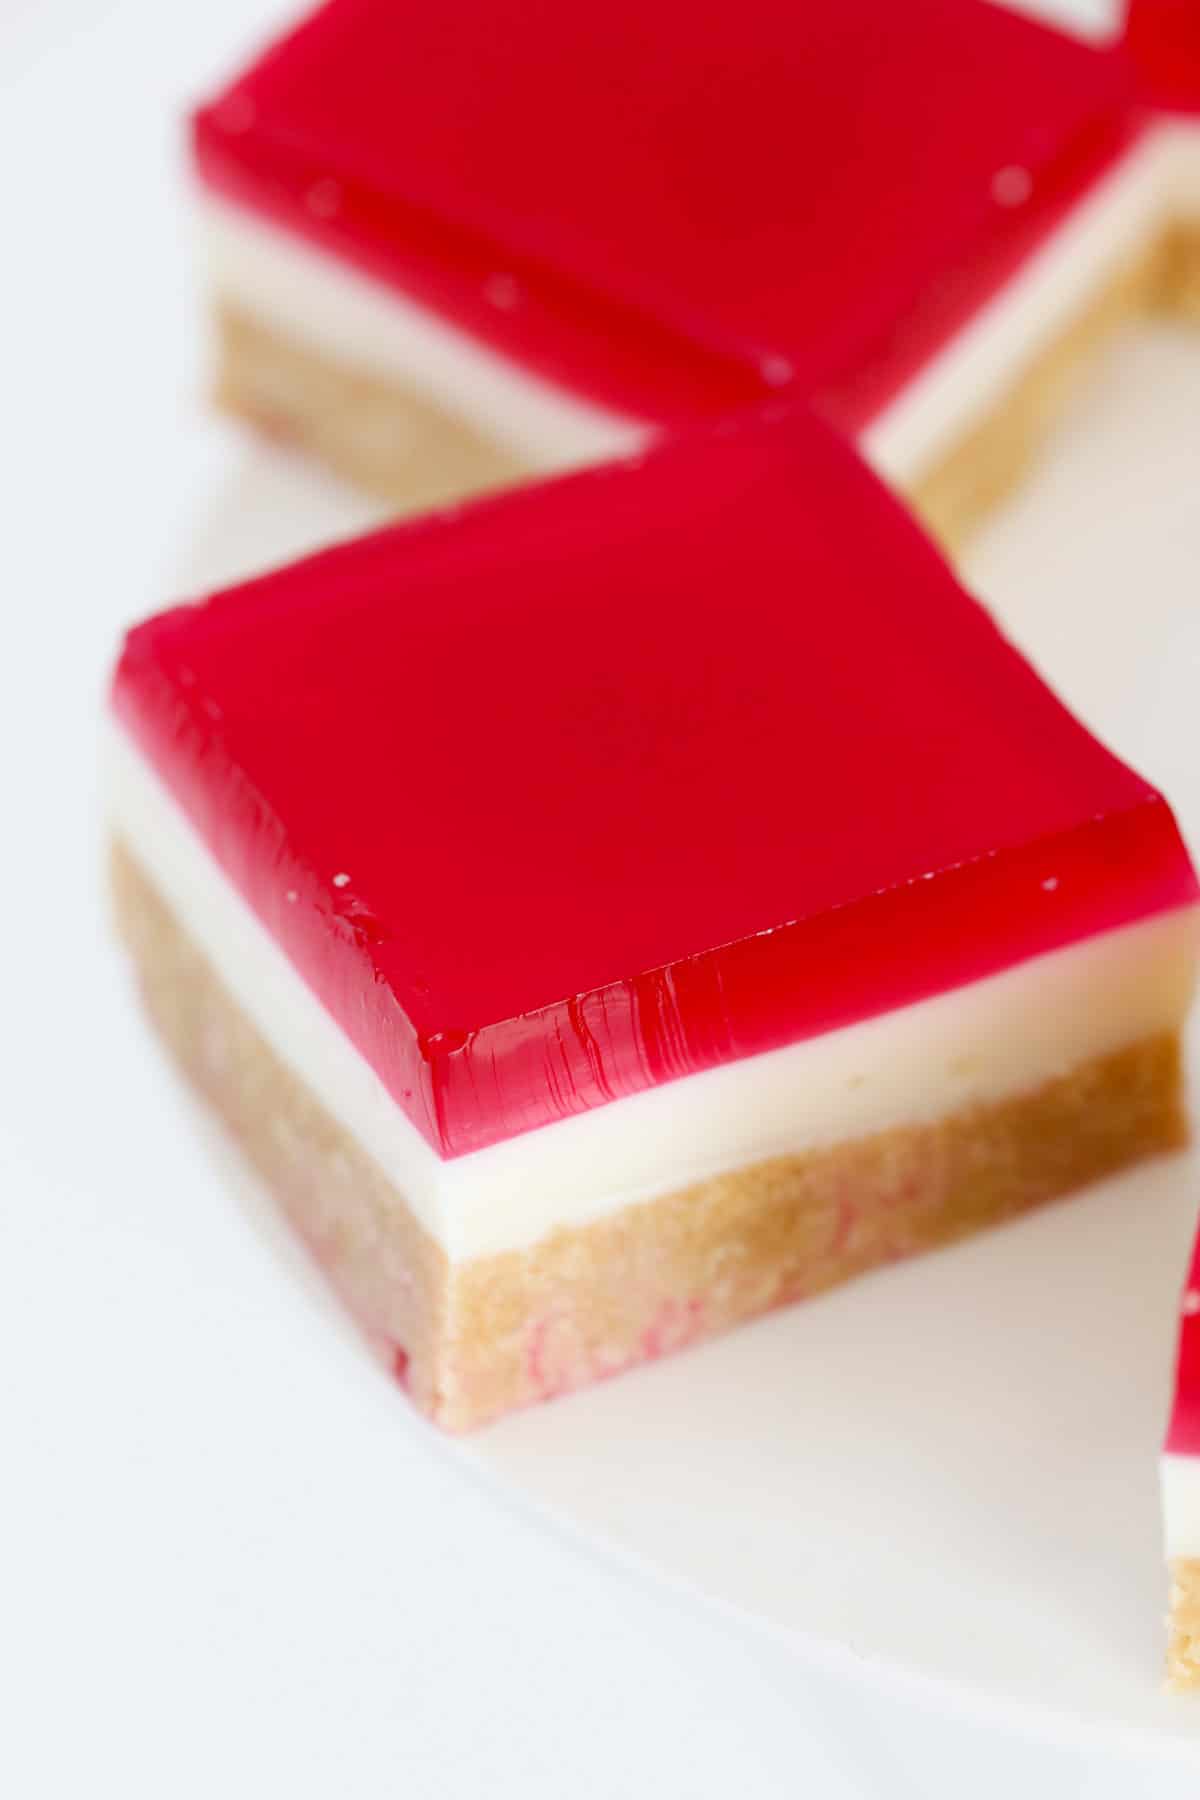
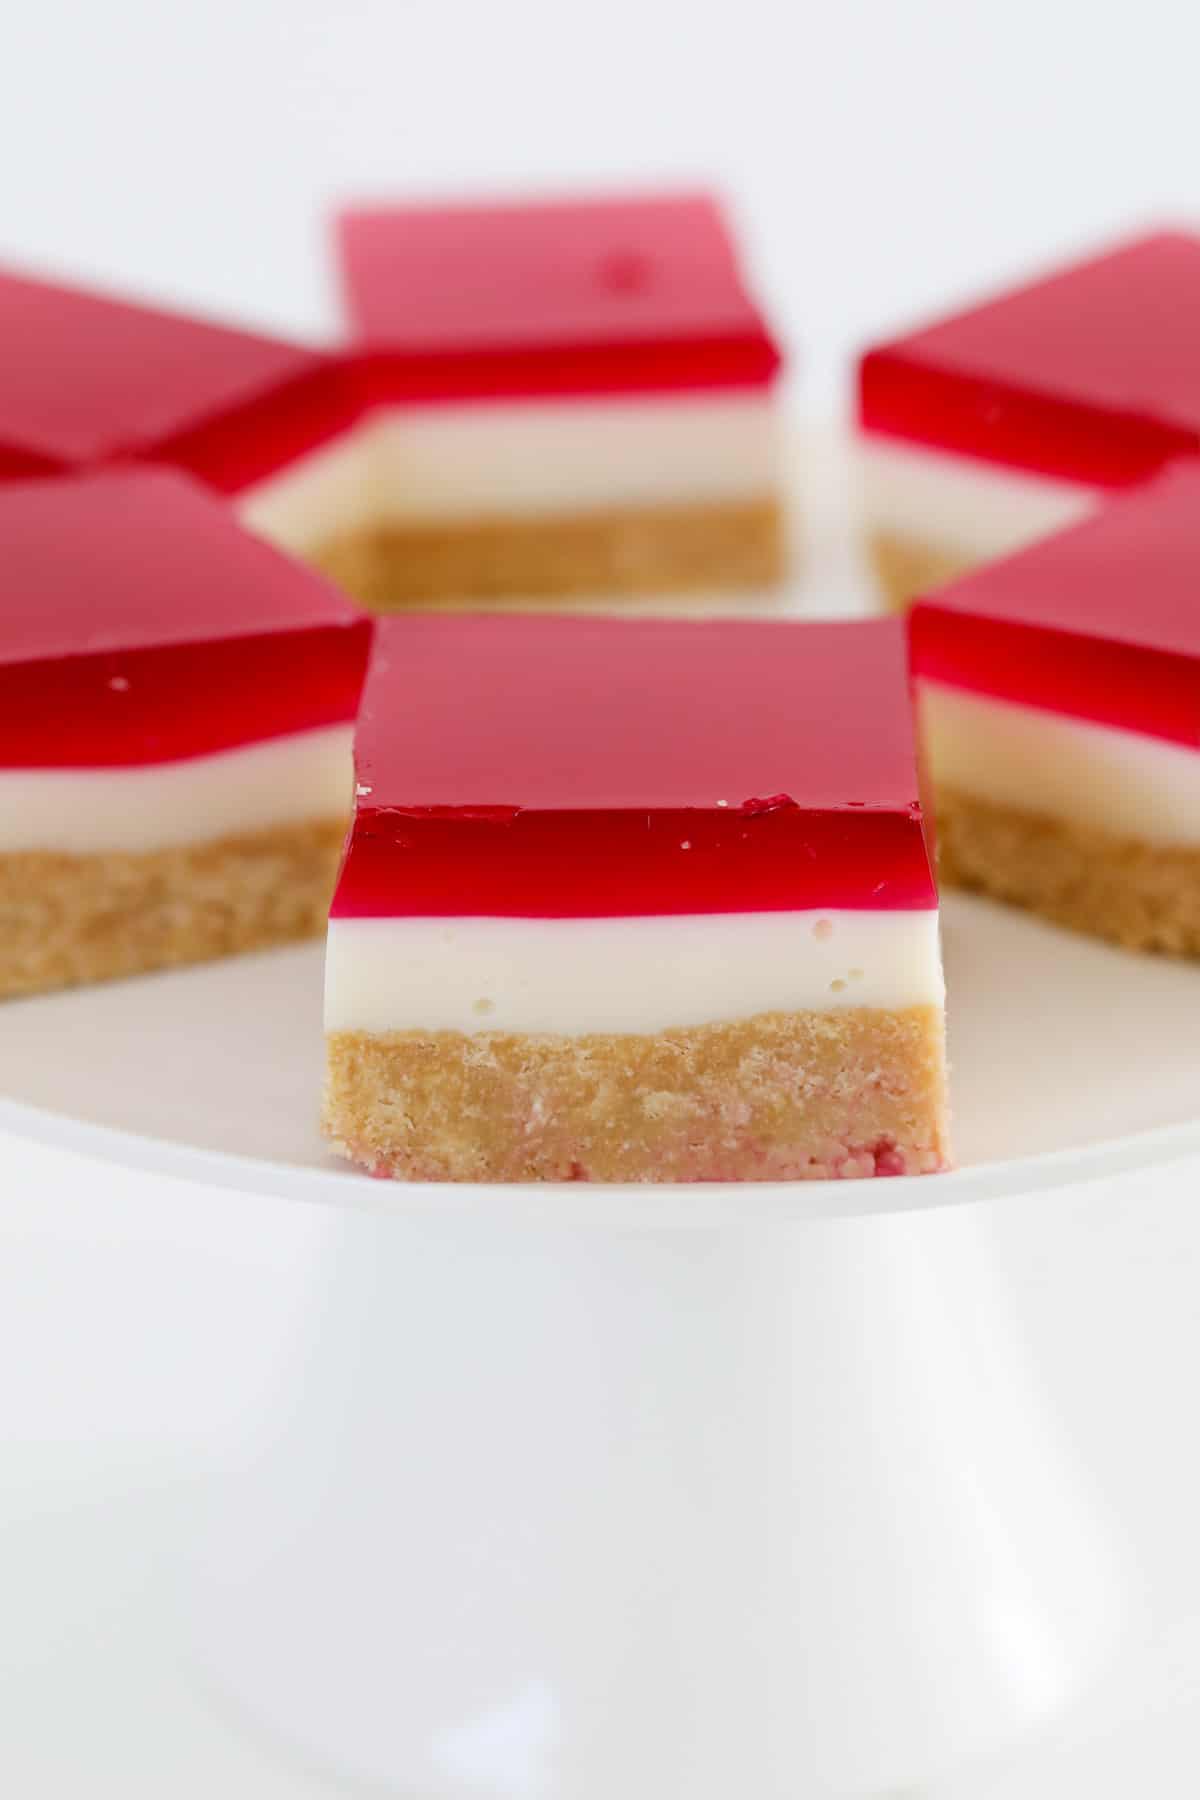
The EASIEST triple-layer Jelly Slice recipe is made with a buttery biscuit base, a creamy sweetened condensed milk filling and a candy jelly topping… the proper old style slice!
A easy no-bake slice that makes use of simply 7 elements and takes quarter-hour to arrange – good for birthday events, morning tea or dessert.
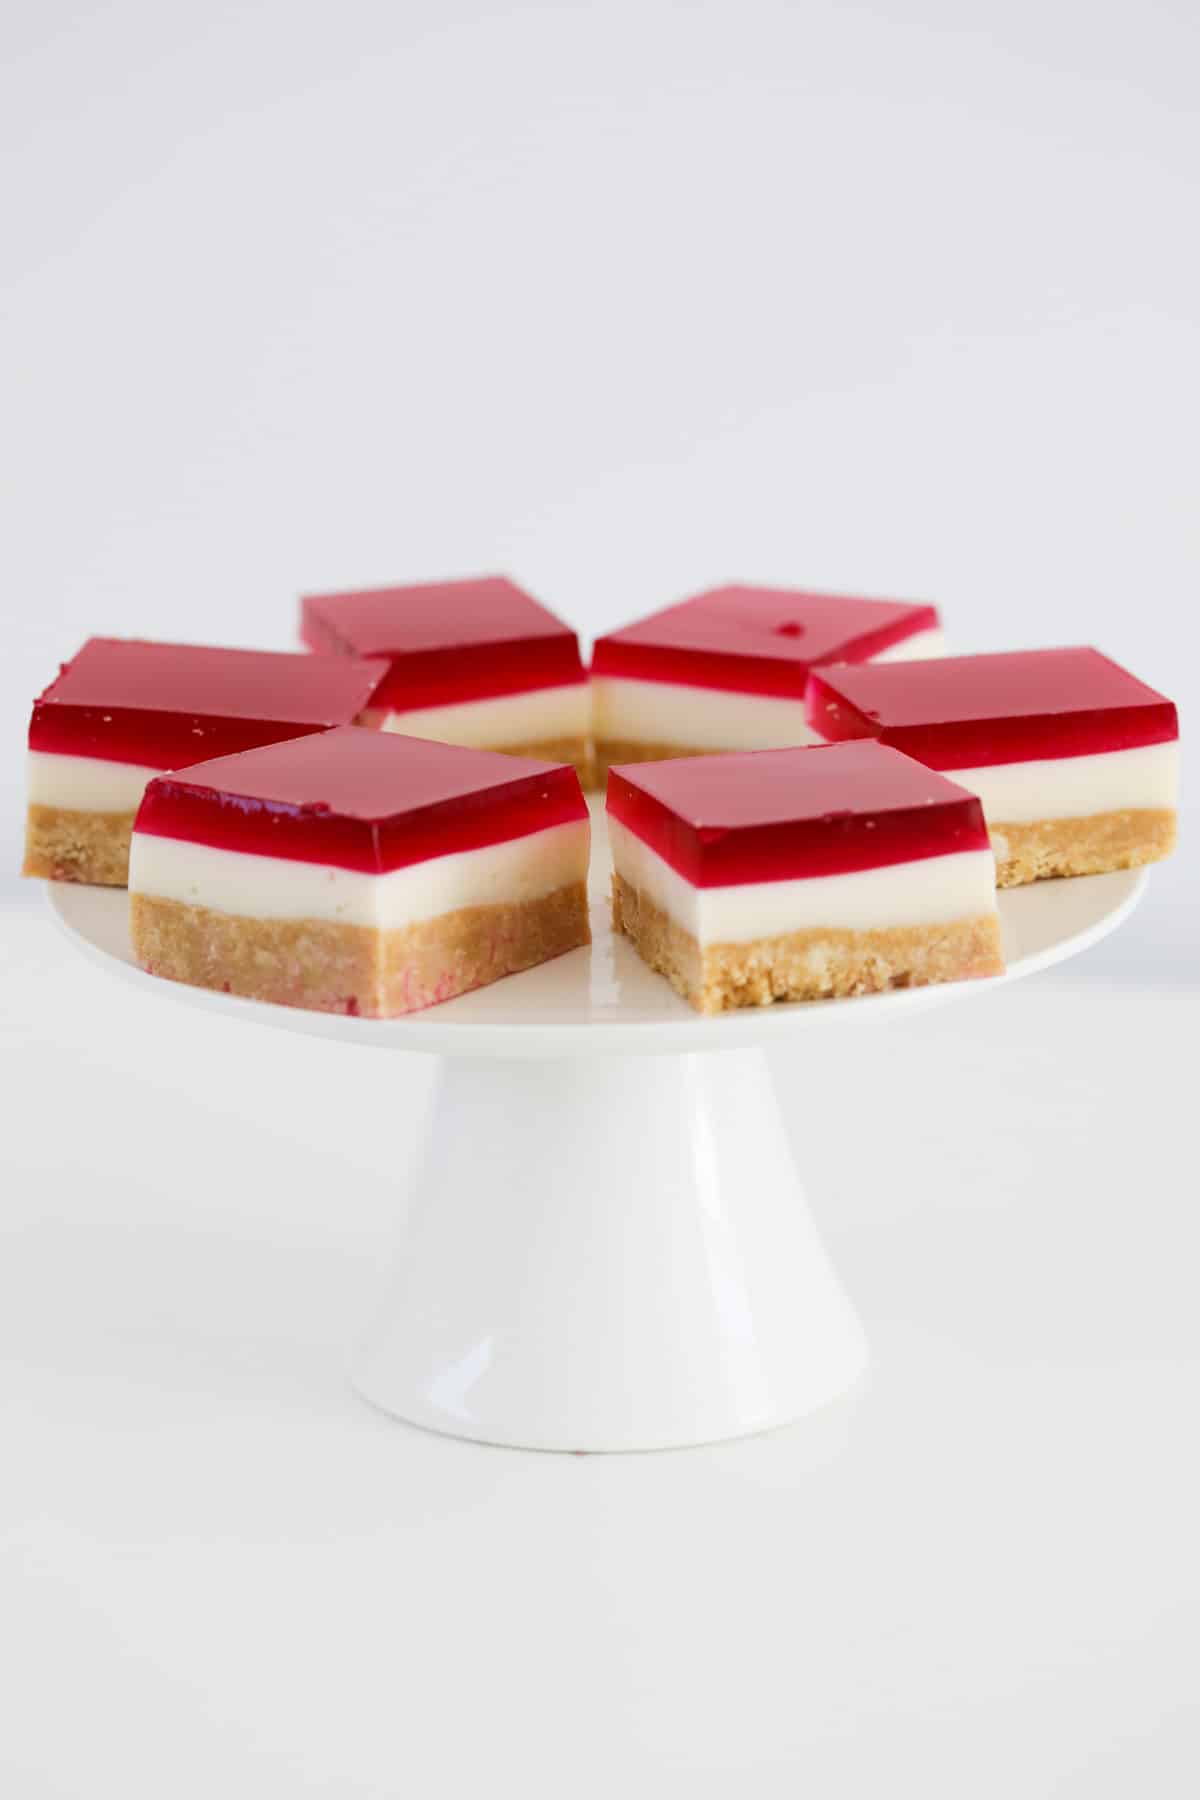
Jelly Slice is a traditional all-time favorite Australian recipe.
It’s mild, candy, creamy and utterly scrumptious. Not like wealthy and decadent slices the place you solely want a tiny piece, there is not any have to restrict your self with this mild and luscious slice.
A well-liked possibility in bakeries and cafes, this slice is often served for morning or afternoon tea or at birthday events!
Similar to the chocolate caramel slice, traditional peppermint slice, chocolate coconut slice, and Clinkers slice, the jelly slice is simple to make and is beloved by youngsters and adults alike.
Bounce to:
Why You are Going To Love This Recipe
What’s to not love about traditional Jelly Slice? It is simply as well-liked at present because it was when your grandma used to make it!
- No-bake – neglect about turning the oven on! This triple-layer slice requires completely NO cooking. Merely put together the layers and chill.
- Spectacular trying – whereas this slice might look fancy, it is truly extremely simple to make. The toughest half is ready for it to relax and set within the fridge…
- Fast & simple to arrange – it takes simply quarter-hour of energetic preparation time to make every layer; nonetheless, make sure you permit sufficient time for the cheesecake layer to set (approx 1 hr) earlier than pouring over the jelly and in addition for the jelly layer to set.
- Excellent for morning tea or events – whether or not you are serving Jelly Slice at a excessive tea, morning tea with pals or a youngsters’ birthday celebration, it is certain to be the primary to vanish. The right candy deal with!
- Thermomix & Typical Directions – this recipe might be made utilizing a meals processor, a rolling pin or a Thermomix for the biscuit base. You need to use both a whisk, beaters or a Thermomix for the creamy filling layer. I’ve included each Thermomix and standard directions within the recipe card on the backside of the put up.
- Mild and recent in flavour – well-known for its mild, creamy and candy flavour, there is not any purpose to not minimize your self an additional huge slice! An all-time household favorite recipe in our home!
What You Want
Jelly Slice is made utilizing simply 7 elements…
Observe: Scroll to the recipe card on the backside for the elements portions and full detailed technique.
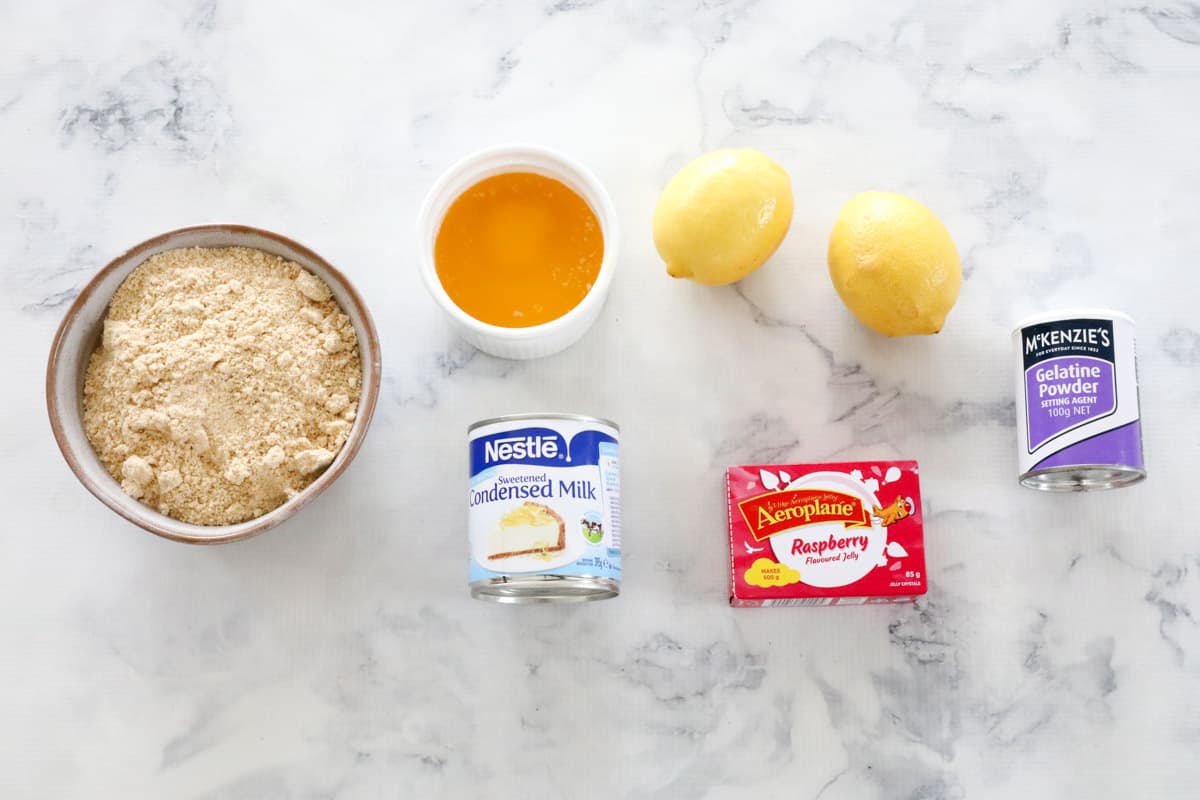
This simple jelly slice recipe consists of three scrumptious layers – a buttery biscuit base, creamy condensed milk layer and candy jelly on high!
The Base
- Butter – you should use both salted or unsalted butter on this recipe. I usually use unsalted butter, however the selection is yours.
- Biscuits – often known as cookies within the US. Use any plain, candy biscuits (akin to Arnott’s Marie biscuits). The biscuits are crushed till tremendous crumbs stay.
The Creamy Filling
- Sweetened condensed milk – I like to recommend utilizing full-fat sweetened condensed milk because it units firmer and has a barely richer flavour than skim or light-sweetened condensed milk.
- Lemon juice – use both freshly squeezed or store-bought lemon juice. Including lemon juice to sweetened condensed milk helps to thicken the milk with out the necessity for heating and provides a recent, creamy flavour.
- Dissolved gelatine powder – use powdered gelatine powder dissolved in boiling water. See my ideas beneath for dissolving gelatine powder.
The Jelly Topping
- Jelly crystals & water – you should use any model or flavour of jelly you want. Aeroplane jelly is a well-liked model of jelly crystals in Australia. When combined with a mix of boiling water and sizzling water, the crystals dissolve simply. As soon as chilled within the fridge, the liquid jelly high will set agency. Personally, I like to make use of strawberry jelly or raspberry jelly!
Gear Required
To make this no-bake jelly slice, you’ll need:
- 18X28cm baking tin
- greaseproof baking paper
- mixing bowl
- small jug or bowl
- meals processor, rolling pin or Thermomix (for crushing the biscuits)
- spoon or wood spoon, for mixing
- whisk
Step By Step Directions
Aeroplane Jelly Slice requires slightly little bit of persistence for the layers to set, nevertheless it solely takes quarter-hour of energetic preparation time!
Observe: Scroll to the recipe card on the backside for the elements portions and full detailed technique.
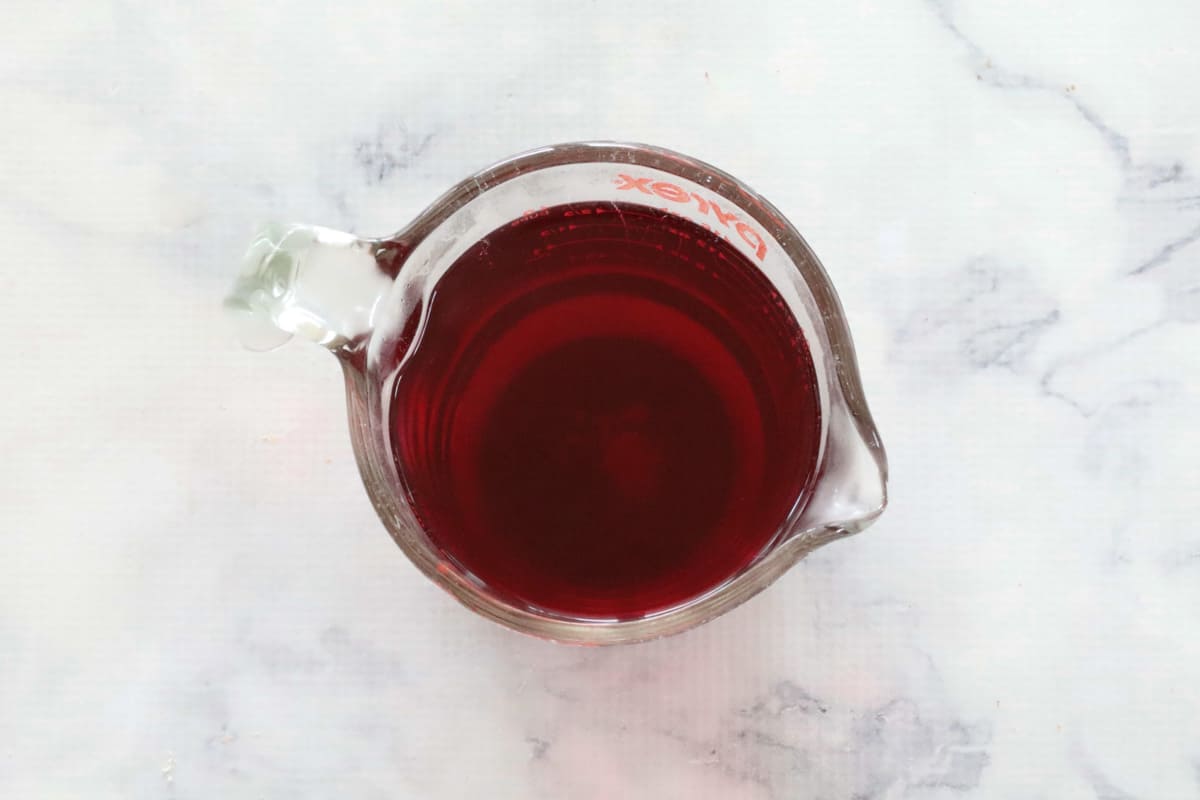
Step 1 – Make The Jelly
In a bowl or jug, put together the raspberry jelly as per the packet directions and go away it at room temperature to chill barely whilst you put together the bottom and filling.
Observe: Don’t place the jelly into the fridge at this stage, as it would set.
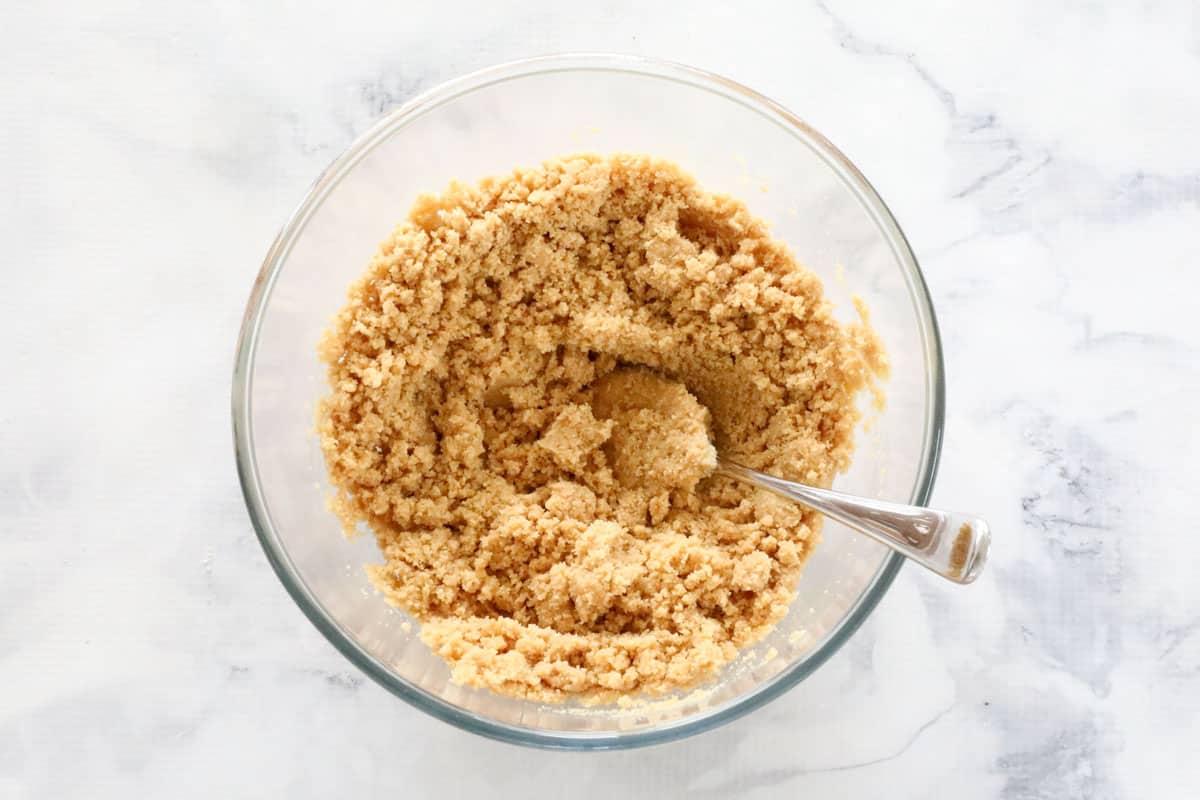
Step 2 – Combine The Crushed Biscuits & Melted Butter
To arrange the primary layer, use a meals processor, a rolling pin or Thermomix to crush the plain candy biscuits.
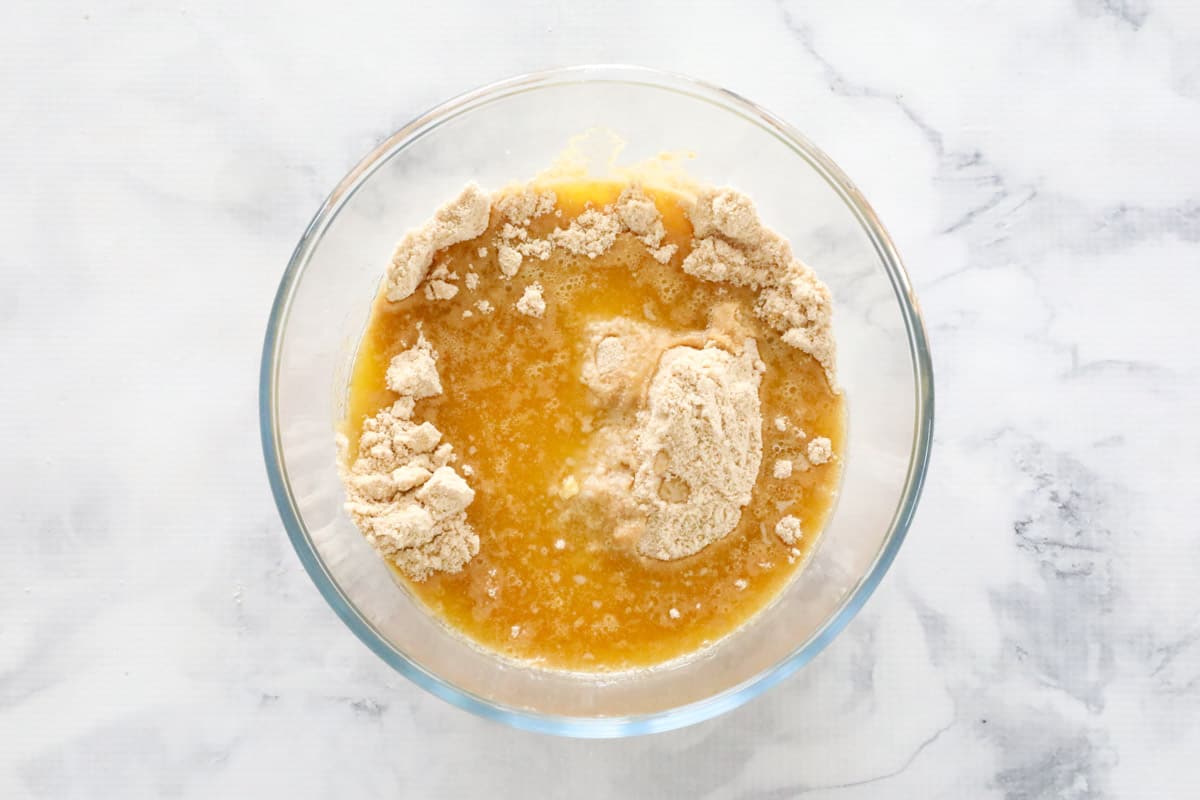
Mix the melted butter with the crushed biscuits.
Press the combination very firmly with the again of a spoon into the bottom of the tin.
TIP: Line a baking tray with greaseproof paper overhanging the perimeters of the tin to permit for straightforward removing of the slice.
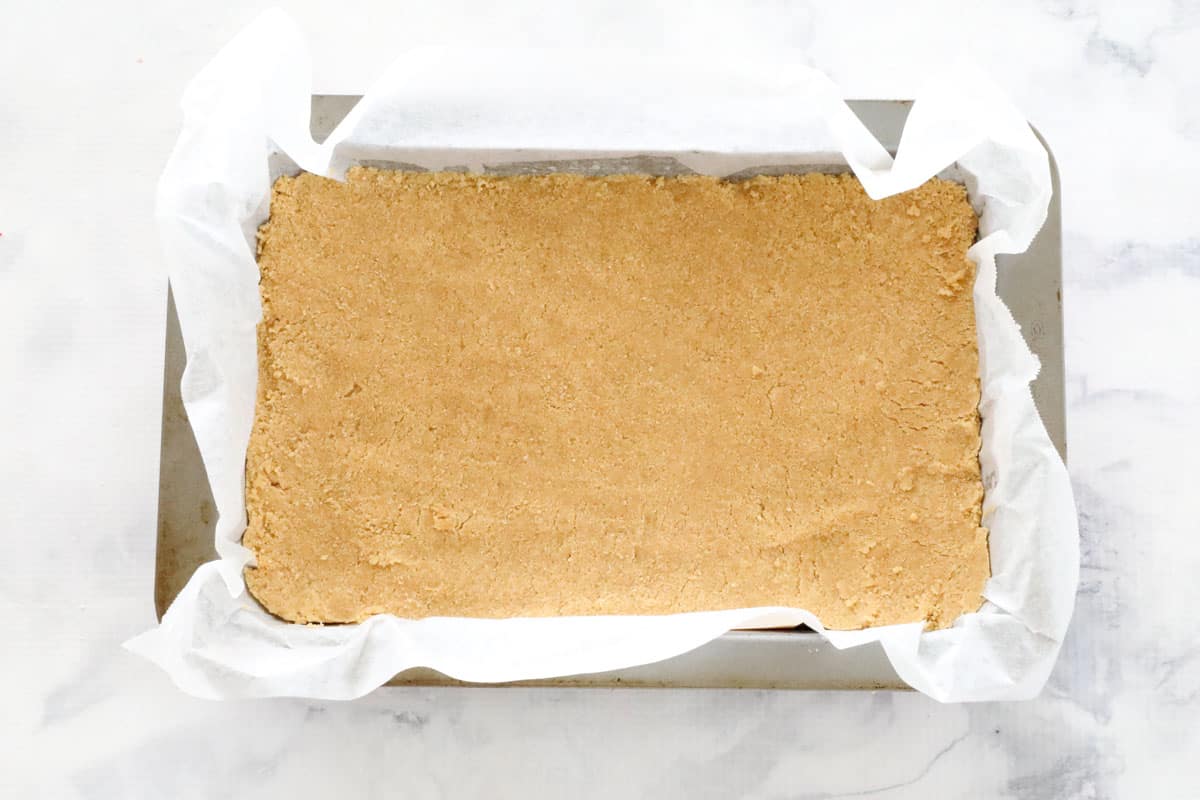
Place it within the fridge whilst you put together the filling.
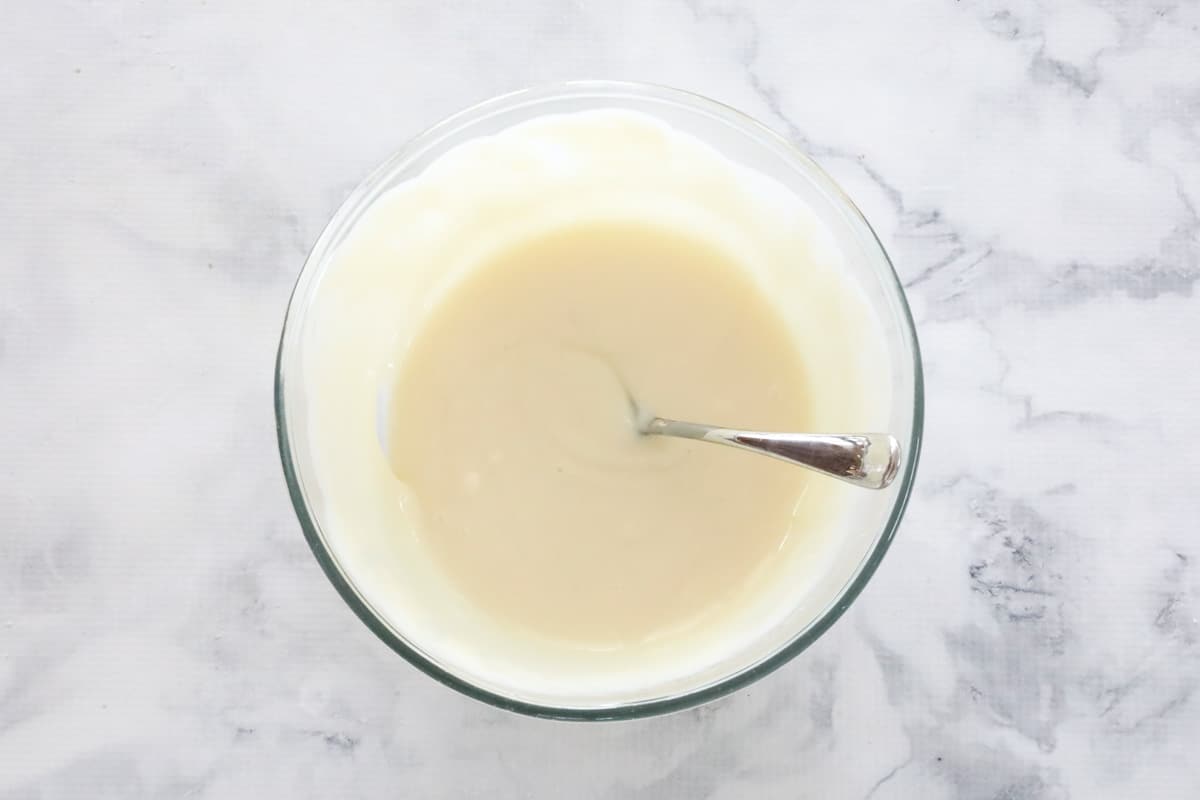
Step 3 – Put together The Creamy Filling
To make the center layer, combine the sweetened condensed milk, lemon juice and dissolved gelatine (see ideas beneath for dissolving the gelatine combination) in a big bowl with a whisk till barely thickened.
Alternatively, you are able to do this step in a Thermomix.
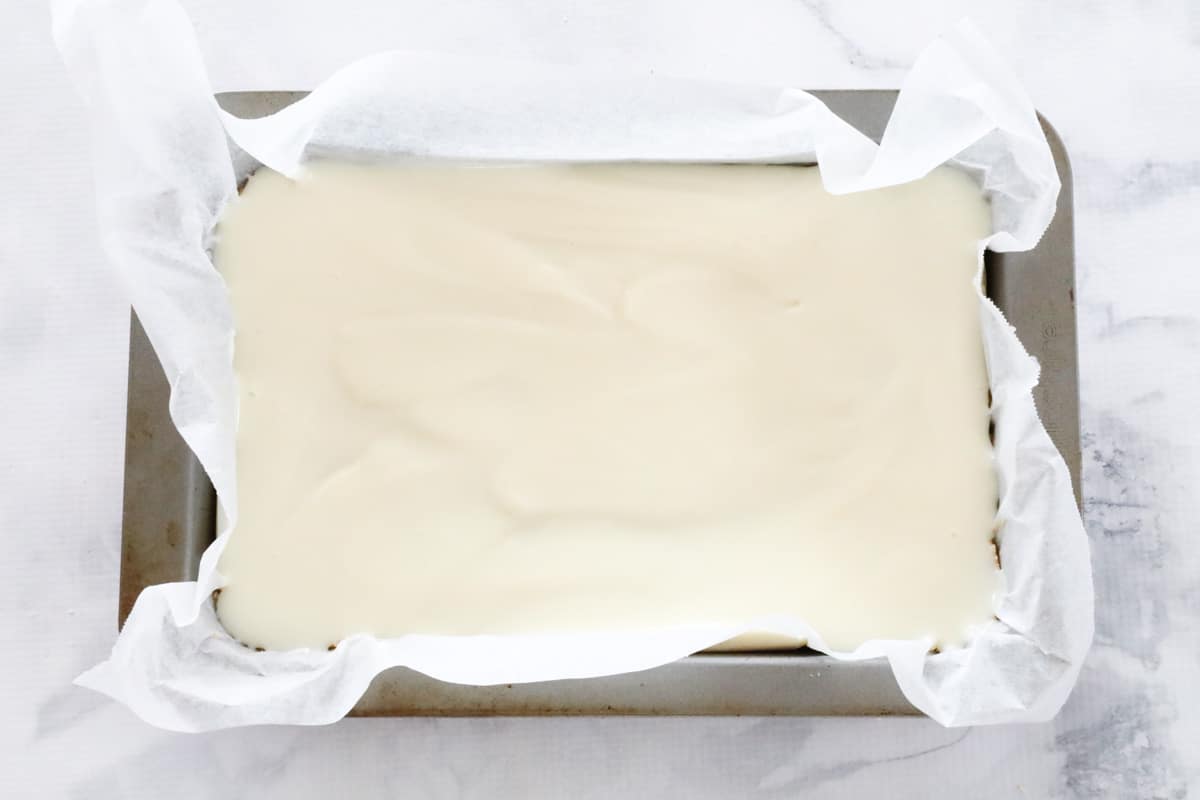
Pour the combination over the crushed biscuit layer and place again into the fridge to set (roughly 1 hour).
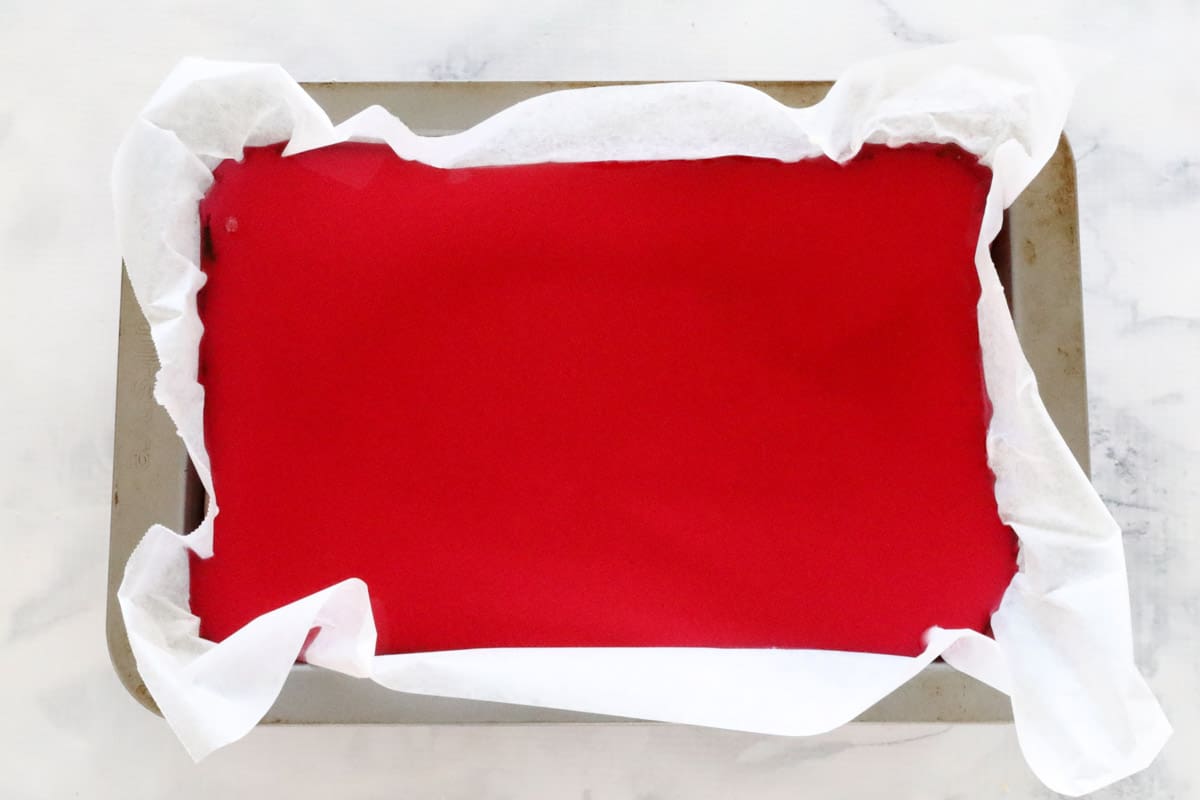
Step 3 – The Jelly Layer
As soon as the creamy filling has set, very gently pour the cooled jelly excessive.
Fastidiously place again into the fridge for five hours or till set.
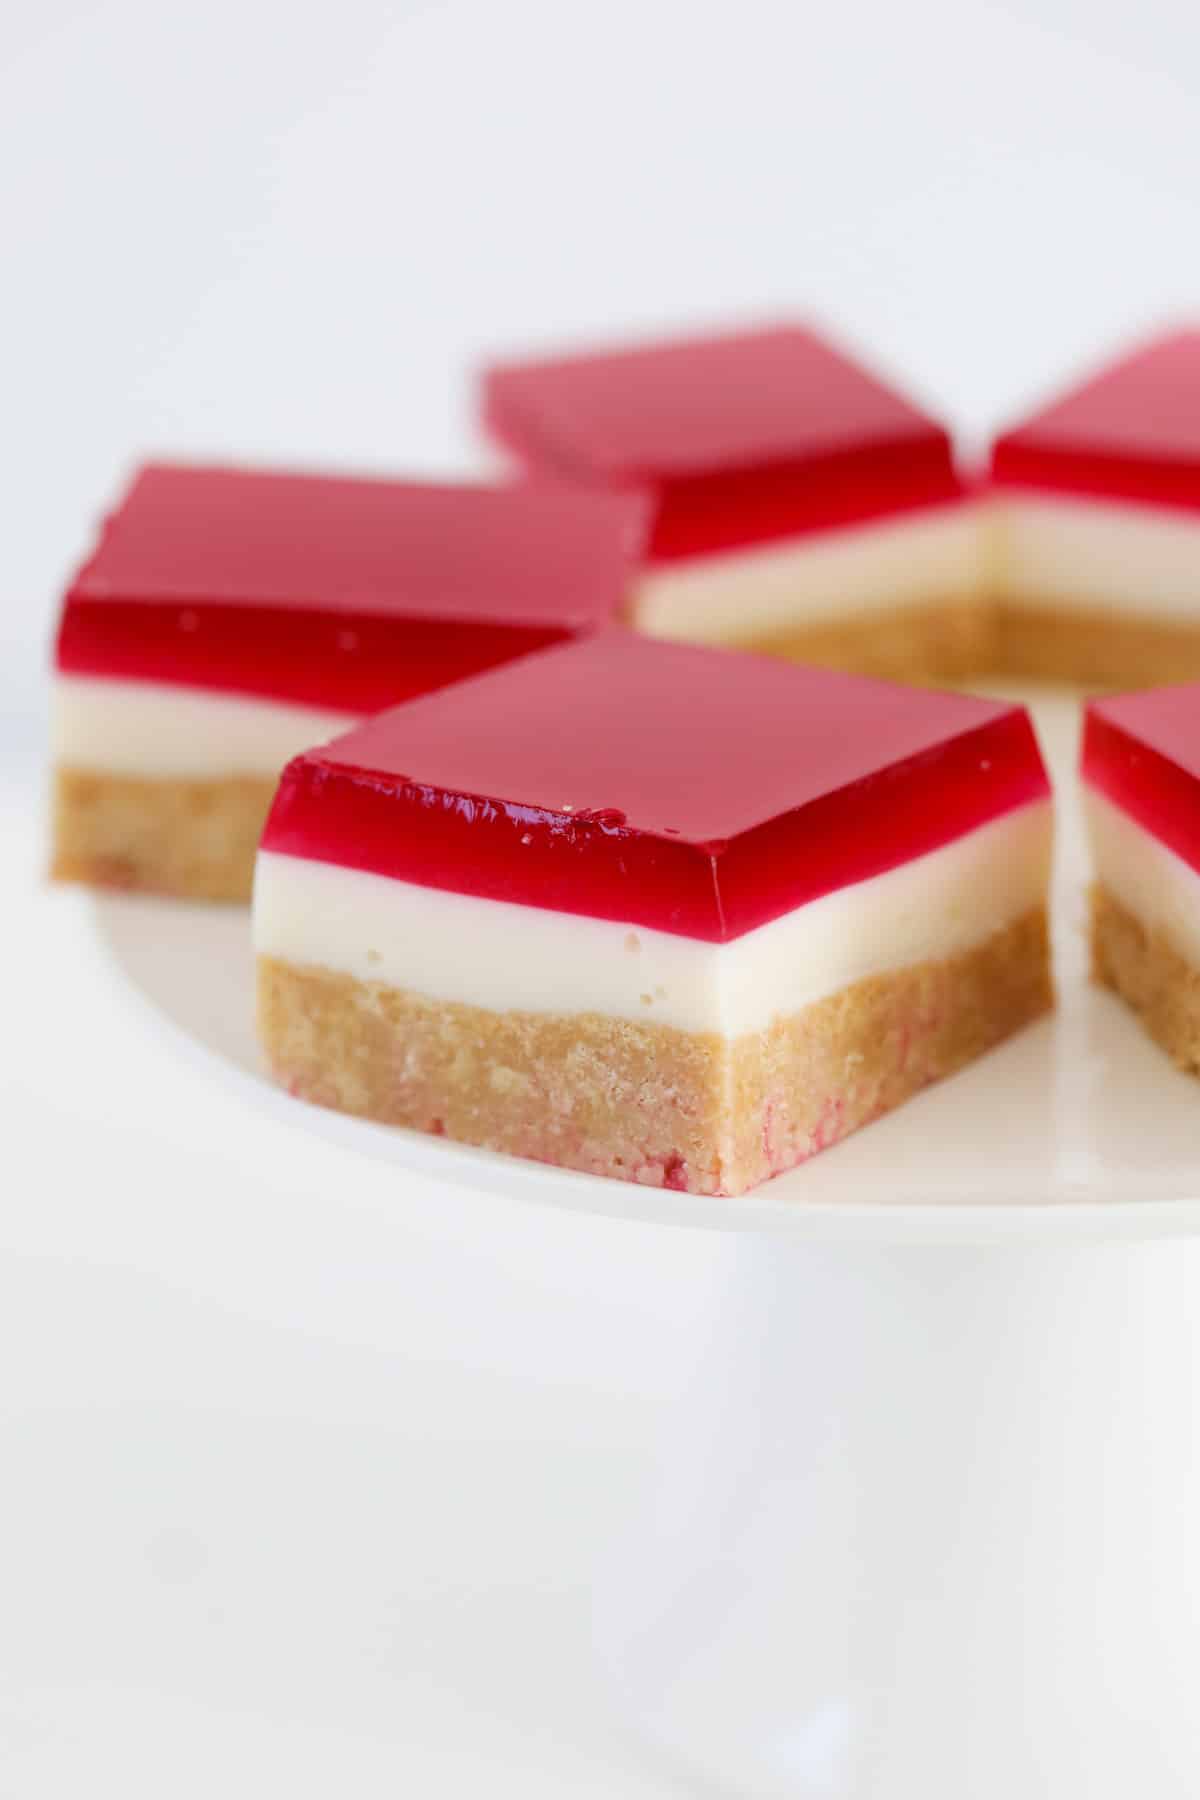
As soon as set, use a flat, sharp knife to fastidiously minimize into items.
Professional Ideas
- Jelly Slice is finest ready and eaten inside 3 days.
- You need to use any flavour jelly you want!
- Line your baking tray with greaseproof paper to permit for straightforward removing of the slice.
- Retailer Jelly Slice in an hermetic container within the fridge for as much as 3 days (though I can assure it would most probably disappear nicely earlier than then!)
- Jelly Slice is not appropriate for freezing.
FAQs
All of your Jelly Slice recipe questions are answered…
Sprinkle gelatine powder over a small bowl or ramekin crammed with ⅓ cup of boiling water. Rapidly use a fork to whisk the gelatine till absolutely dissolved.
Completely! I’ve included each typical and Thermomix directions for making jelly slices on the recipe card beneath.
No. The gelatine powder is required within the filling to make sure the sweetened condensed milk units. The filling will stay comfortable and creamy (not rubbery), however shall be agency sufficient to slice into items. There may be additionally gelatine powder in packets of jelly crystals, as that is wanted for the jelly to set when chilled.
It is essential to relax the filling layer for 1 hour (or till set) after which the complete slice (together with the jelly layer) for five hours. In whole, a jelly slice requires 6 hours of chilling time.
An everyday-sized piece of jelly slice incorporates 128 energy.
Extra No-Bake Slice Recipes
Easy, no-fuss, no-bake slices that the entire household will love!
WANT EVEN MORE DELICIOUS RECIPES? Subscribe to my publication or comply with alongside on Fb or Instagram. And should you love baking, then please come and be part of my Fb cooking membership group or subscribe to my YouTube channel.
Jelly Slice
An excellent simple Jelly Slice recipe that the entire household will LOVE! This traditional favorite is so easy to make… and equally as scrumptious to eat!!
Servings: 20 serves
Energy: 128kcal
Stop your display screen from going darkish
Directions
Typical Technique
-
Line a 18cm x 28cm rectangular slice tin with baking paper and put aside.
-
Put together jelly in accordance with the packet directions and put aside on the bench to chill. Don’t place the jelly within the fridge as you don’t need it to set simply but.
-
Crush the biscuits/cookies in a meals processor and place right into a separate bowl.
-
Add the melted butter and blend till nicely mixed.
-
Firmly press the combination into the underside of the ready tin after which place into the fridge whilst you put together the filling.
-
Place the sweetened condensed milk and lemon juice right into a separate bowl. Add the dissolved gelatine combination (see ideas beneath) and blend utilizing a whisk till utterly mixed.
-
Pour the combination over the ready base and place into the fridge till set (roughly 1 hour).
-
Gently pour the cooled jelly excessive of the slice and place into the fridge for five hours or till set.
-
Reduce into slices and retailer in an hermetic container within the fridge for as much as 3 days.
Thermomix Technique
-
Line a 18cm x 28cm rectangular slice tin with baking paper and put aside.
-
Put together jelly in accordance with the packet directions and put aside on the bench to chill. Don’t place the jelly within the fridge as you don’t need it to set simply but.
-
Place the butter into the Thermomix bowl and soften for two minutes, 80 levels, Velocity 2. Add the biscuits/cookies and blend for 8 seconds, Velocity 8 (chances are you’ll have to scrape down the edges of the bowl partway by). Firmly press the combination into the underside of the ready tin after which place it into the fridge whilst you put together the filling.
-
Place the sweetened condensed milk and lemon juice right into a clear Thermomix bowl. Add the dissolved gelatine combination (see ideas beneath) and blend for 15 seconds, Velocity 4.
-
Pour the combination over the ready base and place into the fridge till set (roughly 1 hour).
-
Gently pour the cooled jelly excessive of the slice and place into the fridge for five hours or till set.
-
Reduce into slices and retailer in an hermetic container within the fridge for as much as 3 days.
Notes
- Methods to dissolve gelatine – sprinkle the gelatine powder over a small bowl or ramekin crammed with the ⅓ cup of boiling water. Rapidly use a fork to whisk the gelatine till absolutely dissolved.
- Sort of jelly to make use of – I usually use a packet of raspberry Aeroplane jelly, nonetheless you should use any model or flavour of packet-mix jelly you want.
- Sweetened condensed milk – I like to recommend utilizing full fats (not skim) sweetened condensed milk because it units firmer.
- Crushed biscuits/cookies – I like to make use of Arnott’s Marie biscuits, nonetheless you should use completely any model of plain candy cookies you want.
- Chilling time – it is essential to relax the filling layer for 1 hour (or till set) after which the complete slice (together with the jelly layer) for five hours. In whole, jelly slice requires 6 hours chilling time.
- Gear – you can also make this jelly slice recipe utilizing a meals processor, blender or a Thermomix.
- Storing jelly slice – this slice might be saved in an hermetic container within the fridge for as much as 3 days (it’s not appropriate for freezing).
Diet
Energy: 128kcal | Carbohydrates: 11g | Protein: 2g | Fats: 9g | Saturated Fats: 6g | Ldl cholesterol: 26mg | Sodium: 89mg | Potassium: 75mg | Sugar: 11g | Vitamin A: 271IU | Vitamin C: 1mg | Calcium: 58mg | Iron: 1mg